
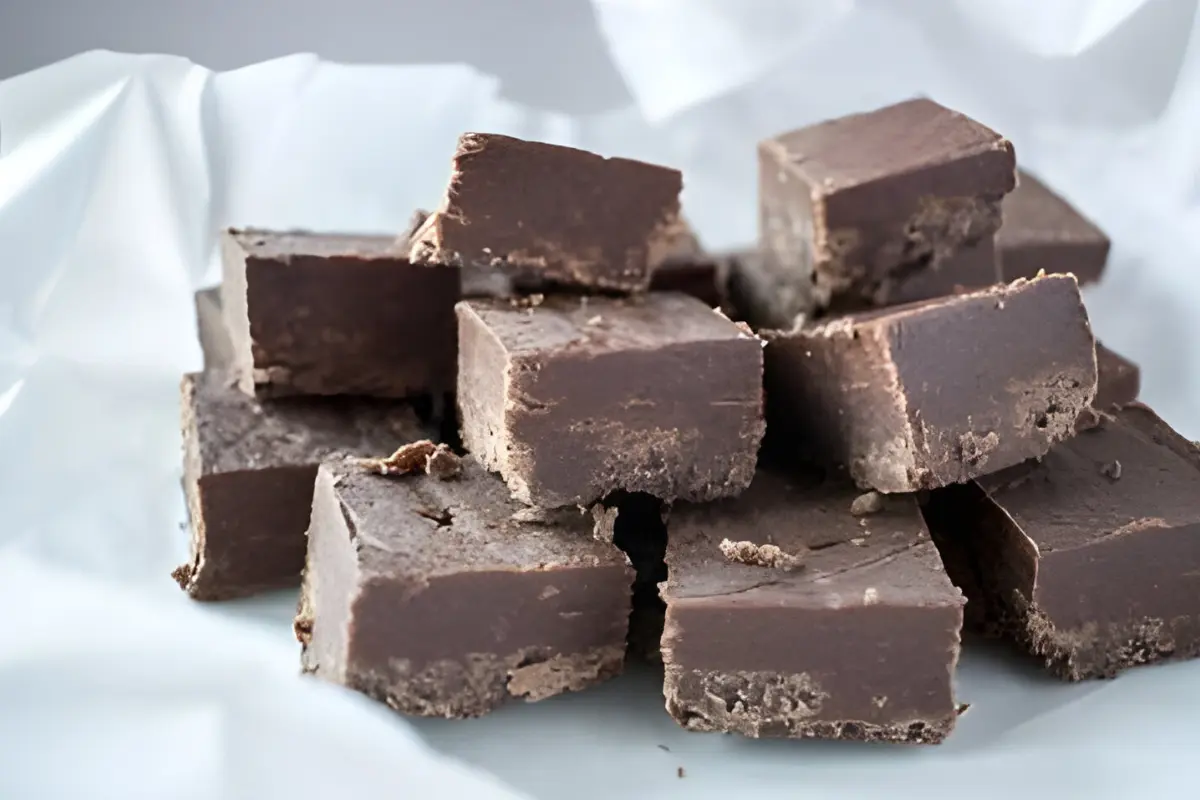
Fudge, that creamy, smooth confection we all adore, is more than just sugar and chocolate. It’s a culinary adventure, a journey through flavor, texture, and sweetness that has captured the hearts of many. In this comprehensive guide, we’re diving deep into the secrets behind crafting the perfect fudge. From the science of crystallization to the art of flavor enhancement, we’re covering all bases to help you elevate your fudge-making skills. Whether you’re a novice eager to learn or a seasoned pro looking for advanced tips, this article promises to unlock the door to fudge perfection.
Introduction to Fudge
Fudge is a classic sweet treat that, despite its simplicity, holds a rich tapestry of history and tradition. Originating from the late 19th century, fudge has evolved from a humble American confection into a global phenomenon. Loved for its creamy texture and sweet, decadent flavor, fudge is a staple in the world of desserts. But, what exactly makes fudge, well, fudge? And why does it continue to be so popular?
What Makes Fudge Fudge?
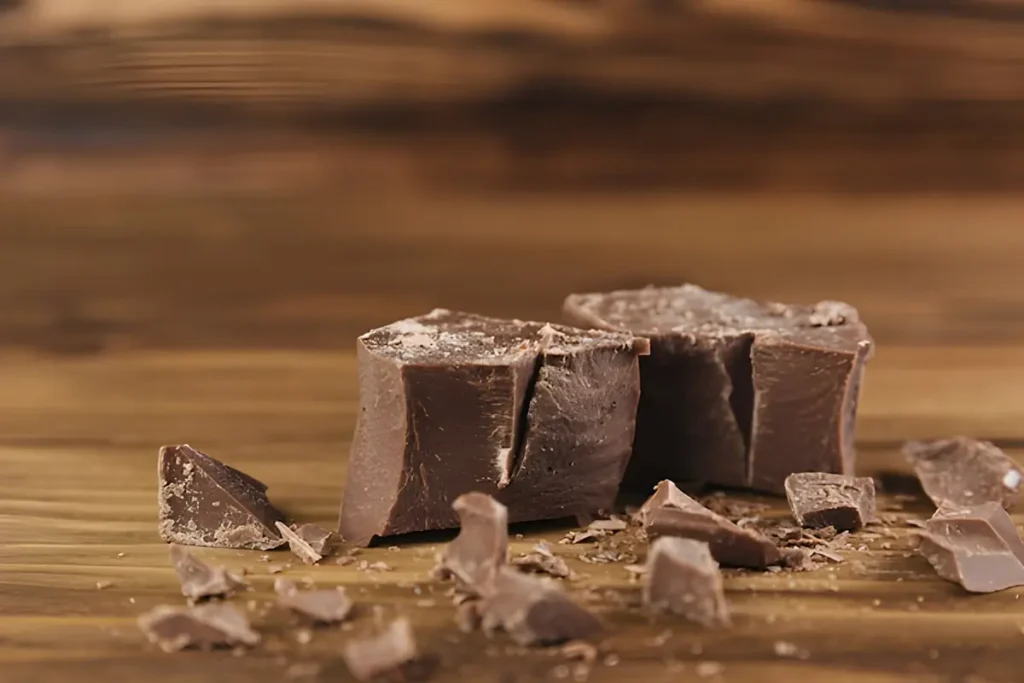
At its core, fudge is a marvel of the confectionery world. It’s the result of a delicate dance between sugar, milk, butter, and flavorings like chocolate or vanilla. This mixture is heated to the soft-ball stage and then cooled and beaten until it reaches the perfect creamy consistency. However, achieving that signature smooth texture is not always straightforward; it requires precision, patience, and a touch of culinary magic.
Ingredients for Success
The secret to good fudge lies in its ingredients. The quality of each component can dramatically affect the final outcome. Essential ingredients include sugar, which provides the sweetness and structure; milk or cream, offering richness; butter, adding creaminess; and flavorings like chocolate or nuts, which introduce depth and personality to the fudge. The role of each ingredient is crucial, as they work together to create the silky texture and rich flavor that fudge is known for.
In the quest for the perfect batch of fudge, understanding these basics is just the beginning. As we delve deeper into the nuances of fudge-making, you’ll discover the fine line between good fudge and great fudge. Stay tuned as we explore the science behind fudge, learn how to navigate common pitfalls, and unlock professional chefs’ secrets to elevate your fudge from delightful to divine.
Now, let’s gear up, gather our ingredients, and embark on this sweet journey to mastering the art of fudge-making.
Understanding Fudge Basics
Embarking on the journey to the perfect fudge begins with a solid foundation. Let’s dive deeper into what sets fudge apart and how the symphony of its basic ingredients creates a confectionery masterpiece.
What Makes Fudge Fudge?
At its heart, fudge is a confection that exemplifies the magic of candy making. It’s all about achieving that melt-in-your-mouth consistency, paired with an irresistible sweetness that tantalizes the taste buds. But, it’s not just about mixing sugar, milk, and butter. The secret to good fudge lies in understanding how these elements interact under heat and how they cool together to form a smooth, creamy texture.
Ingredients for Success
The journey to making exquisite fudge starts with high-quality ingredients. Each plays a pivotal role:
- Sugar: The backbone of fudge, sugar, is crucial for achieving the sweet, crystalline structure that fudge is known for. But beware, the way sugar is heated and cooled can make or break your fudge’s texture.
- Milk or Cream: This adds richness and moisture, ensuring your fudge is delightfully creamy rather than dry. The fat content is key; too little and your fudge may lack creaminess, too much and it might not set properly.
- Butter: Butter introduces a silky smoothness to fudge, enhancing both its texture and flavor. It’s the secret ingredient that makes fudge truly indulgent.
- Flavorings: Whether it’s chocolate, vanilla, or something more adventurous, flavorings add depth and character to your fudge. High-quality cocoa or real vanilla can elevate your fudge from good to unforgettable.
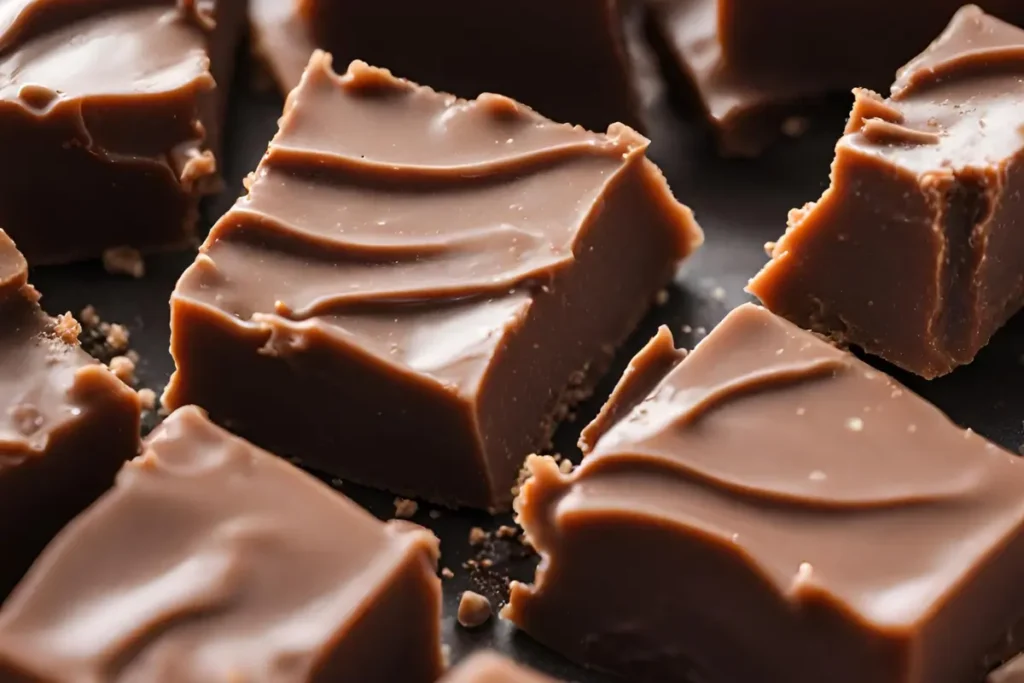
Achieving the Perfect Texture
The quest for perfect fudge texture is a tale of science and art. It involves controlling the crystallization of sugar – a process where sugar molecules form crystals. The goal is to create numerous small crystals, which lend fudge its smooth texture. Achieving this requires precision in temperature and timing. Heat the mixture too much, and you risk large, gritty crystals. Not enough, and your fudge may not set.
Flavor Enhancements
The essence of good fudge is not just in its texture but in its rich, layered flavors. Beyond the classic chocolate and vanilla, there’s a world of ingredients that can add an intriguing twist to your fudge. Consider infusing your fudge with espresso for a deep, robust flavor, or orange zest for a refreshing citrus note. The possibilities are endless, allowing for creativity in every batch.
As we journey through the art of fudge making, remember, the road to perfection is paved with patience and practice. Armed with these insights into fudge basics, you’re well on your way to creating a batch that’s not just good, but truly exceptional. Stay tuned as we explore more secrets to unlocking the full potential of your fudge-making skills.
The Secrets to Perfect Fudge
Diving into the heart of fudge-making, we encounter the pivotal moments that define its texture and taste. Let’s unravel the secrets that transform simple ingredients into sublime treats.
Achieving the Perfect Texture
Texture is the hallmark of exceptional fudge. The goal is a firm yet creamy consistency that melts delightfully in the mouth. This elusive texture is achieved through the meticulous management of sugar crystallization.
- The Science of Crystallization: Sugar crystals are the building blocks of fudge. The secret lies in controlling their size. Small, uniform crystals give fudge its smooth texture, whereas large crystals result in a grainy mouthfeel. The key is rapid cooling followed by vigorous beating; this encourages the formation of numerous tiny crystals rather than fewer larger ones.
- Temperature Precision: Precision in heating is critical. The mixture must reach the soft-ball stage, between 234°F and 239°F. This precise temperature range ensures that enough water evaporates from the mixture, allowing the sugar to crystallize optimally upon cooling. A candy thermometer isn’t just helpful; it’s essential.
Flavor Enhancements
While texture is crucial, the flavor is what makes fudge truly memorable. Here, the secret lies in both the quality of the ingredients and the creativity of the maker.
- Adding Depth to Flavor: Consider the source of your primary flavors. For chocolate fudge, the type of chocolate used can vastly affect the outcome. High-quality cocoa or premium chocolate bars can provide a richer, more complex flavor than standard baking chocolate.
- Experimenting with Ingredients: Don’t be afraid to experiment. Add-ins like toasted nuts, dried fruit, or swirls of caramel can introduce exciting textures and flavors. For a more sophisticated twist, infuse your fudge with espresso or liqueur (in contexts where mentioning alcoholic ingredients is appropriate), adding layers of depth to the flavor profile.
The journey to perfect fudge is filled with trials and triumphs. Understanding the interplay between crystallization and flavor, and mastering the techniques of temperature control and ingredient selection, are steps toward achieving that irresistible batch of fudge. With these secrets in hand, you’re well-equipped to explore the vast potential of fudge-making, creating confections that delight and impress. Stay tuned as we delve deeper into the common pitfalls in fudge-making and how to avoid them, ensuring your fudge is nothing short of perfect.
Part 4: Common Pitfalls and How to Avoid Them
Fudge-making, while rewarding, can sometimes feel like navigating a minefield of potential missteps. But fear not! Identifying common pitfalls and learning how to sidestep them can elevate your fudge from “nearly there” to “nailed it.”
Troubleshooting Fudge Problems
- Graininess: Perhaps the most common complaint, graininess usually stems from uncontrolled sugar crystallization. To prevent this, avoid stirring the mixture once it starts to boil and ensure you use a clean brush dipped in water to dissolve any sugar crystals on the side of the pan. Also, allowing the mixture to cool slightly before stirring can help minimize premature crystallization.
- Softness: If your fudge doesn’t set and remains too soft, it’s likely due to not reaching the correct temperature. The soft-ball stage is crucial for the right texture. Using a reliable candy thermometer can prevent this issue, ensuring your fudge sets perfectly.
- Stiffness: On the flip side, fudge that sets too hard or becomes crumbly has likely been overcooked or beaten too much. To avoid this, pay close attention to the thermometer during cooking and stop beating as soon as the fudge thickens and starts to lose its gloss.
Solutions and Preventative Measures
- Use High-Quality Ingredients: The better the quality of your ingredients, the better your fudge will taste and the more forgiving it will be during the cooking process. High-quality chocolate, pure vanilla extract, and fresh nuts can make a significant difference in the final product.
- Patience is Key: Rushing the fudge-making process can lead to mistakes. Allow enough time for the fudge to cook and set properly. Patience not only ensures proper crystallization but also allows flavors to develop fully.
- Keep Your Tools Ready: Before you start, ensure all your tools are prepared. From the candy thermometer to the wooden spoon and the pan for cooling, having everything ready can make the process smoother and help avoid common pitfalls.
Armed with the knowledge of these common fudge-making pitfalls and how to avoid them, you’re one step closer to creating the perfect batch every time. Remember, even the most experienced confectioners encounter hiccups now and then. The key is to learn from each batch, adjusting your technique as you go. With each attempt, you’re refining your skills, paving your way to fudge that’s not just good, but exceptional. Up next, we’ll dive into advanced techniques and tips from professional chefs to further enhance your fudge-making journey.
Part 5: Advanced Techniques and Tips
As we venture further into our fudge-making journey, it’s time to refine our craft with advanced techniques and tips from the culinary experts. These insights can elevate your fudge from homemade to artisanal, bringing a professional touch to your confectionery creations.
Professional Chefs’ Secrets
- Temperature Control: Master chefs know the importance of precise temperature control. A digital candy thermometer can offer more accuracy than traditional models, allowing you to hit the exact soft-ball stage required for flawless fudge. Remember, even a few degrees off can significantly affect your fudge’s texture.
- The Art of Beating: Beating the fudge at the right time and to the correct degree is an art. Start beating when the fudge has cooled to about 110°F to avoid premature crystallization. The perfect endpoint is when the fudge thickens, lightens in color, and begins to lose its sheen. Stop immediately to avoid overworking, which can lead to a dry texture.
- Ingredient Quality: Professionals emphasize the quality of ingredients. For chocolate fudge, opting for high-cocoa content chocolate bars over chips can make a difference due to the lower sugar and higher fat content, resulting in a richer, smoother fudge.
Creative Variations
Innovation is key in the world of fudge making. Here are some ways to infuse creativity into your batches:
- Infusions and Flavorings: Experiment with infusions such as espresso for a rich, deep flavor that complements chocolate perfectly. The addition of sea salt can also enhance the sweetness and complexity of your fudge, offering a gourmet twist.
- Texture Plays: Consider adding a variety of textures to your fudge. Toasted nuts, dried fruit, or even cookie pieces can introduce an enjoyable contrast to the smoothness of your fudge. Be mindful to add these at the right moment to maintain their texture.
- Visual Appeal: Playing with colors and layers can not only add visual appeal but also create a multi-flavored experience. Layer a dark chocolate fudge with a white chocolate one, or swirl in caramel for a marbled effect. The key is to work quickly but carefully to maintain distinct layers.
Embracing these advanced techniques and tips can transform your fudge-making process, allowing you to create confections that are as delightful to look at as they are to eat. Remember, the beauty of fudge making lies in experimentation and personalization. Each batch is an opportunity to try something new, to refine your skills, and to share the joy of a perfectly crafted piece of fudge. As we continue our exploration, the journey becomes as rewarding as the destination itself. Stay tuned for our next installment, where we’ll guide you through a step-by-step approach to making your own perfect batch of fudge.
Part 6: Step-by-Step Guide to Making Fudge
Now that we’ve armed ourselves with the secrets, pitfalls, and professional tips for making exquisite fudge, it’s time to put our knowledge into practice. Follow this step-by-step guide, designed to lead you through the process of creating your very own batch of perfect fudge.
Classic Fudge Recipe
Let’s start with a classic chocolate fudge, a beloved favorite that serves as the perfect canvas for your culinary creativity.
Ingredients:
- 3 cups of granulated sugar
- ¾ cup of unsalted butter
- ⅔ cup of evaporated milk
- 12 oz of high-quality semisweet chocolate, chopped
- 1 jar (7 oz) of marshmallow creme
- 1 teaspoon of pure vanilla extract
- Optional: 1 cup of chopped nuts (walnuts or pecans)
Instructions:
- Prepare Your Pan: Line an 8-inch square baking pan with parchment paper, allowing excess to overhang the sides for easy removal.
- Combine Sugar, Butter, and Milk: In a heavy-bottomed saucepan, combine sugar, butter, and evaporated milk. Bring to a full rolling boil over medium heat, stirring constantly to prevent scorching.
- Boil: Once boiling, continue to cook for 5 minutes, adjusting the heat as necessary to maintain a boil without boiling over. Stir continuously.
- Add Chocolate and Marshmallow Creme: Remove from heat. Immediately add the chopped chocolate and marshmallow creme, stirring vigorously until the chocolate is melted and the mixture is smooth.
- Add Vanilla and Nuts: Stir in the vanilla extract and, if desired, the chopped nuts. Mix well until everything is evenly incorporated.
- Pour into Prepared Pan: Quickly pour the fudge mixture into the prepared pan. Smooth the top with a spatula.
- Cool: Let the fudge cool at room temperature until set, about 2-3 hours. Do not refrigerate as it can lead to a grainy texture.
- Cut: Using the overhanging parchment paper, lift the fudge out of the pan. Cut into squares with a sharp knife.
Tips for First-Timers
- Patience with Boiling: The boiling stage is crucial. Keep a steady boil and use a candy thermometer to ensure accuracy. Rushing this step can lead to fudge that doesn’t set correctly.
- Stirring Post-Boil: Once you’ve added the chocolate and marshmallow creme, stir energetically. This ensures a smooth, homogenous mixture, which is key for silky fudge.
- Cooling: Allow your fudge to cool gradually at room temperature. Cooling too quickly or in the refrigerator can affect the texture, making it too hard or too soft.
Creating fudge is an enjoyable and rewarding process, blending science and art in equal measure. Each step, from boiling to cooling, plays a pivotal role in determining the final texture and flavor of your fudge. Remember, the beauty of fudge making lies not just in the delicious end product but in the joy of the process itself—experiment with flavors, textures, and ingredients to find your perfect fudge recipe. And most importantly, share your creations with friends and family to spread the sweetness far and wide. Stay tuned for our concluding thoughts and final tips to wrap up our comprehensive guide to making the perfect fudge.
Part 7: FAQs Based on People Also Ask
As we wrap up our comprehensive guide to making the perfect fudge, let’s address some frequently asked questions that often arise in the minds of both novice and experienced fudge makers. These queries reflect common concerns and curiosities, helping to clarify any remaining uncertainties about the fudge-making process.
Frequently Asked Questions
- How Do I Fix Grainy Fudge?
- Graininess in fudge is typically caused by large sugar crystals forming. To fix grainy fudge, gently reheat it with a tablespoon or two of water until the fudge melts. Stir slowly and continuously until smooth, then pour it back into the pan to set. This process can help dissolve the sugar crystals and smooth out the texture.
- Why Did My Fudge Not Set?
- Fudge may fail to set for a few reasons, including not cooking the mixture to the correct temperature or not beating it enough after cooling. Ensure the mixture reaches the soft-ball stage (234-239°F) and cool it to 110°F before beating. If it’s too late to reheat, you can use the soft fudge as a sauce or filling.
- Can I Make Fudge Without a Candy Thermometer?
- While a candy thermometer is highly recommended for precision, you can use the cold water test as an alternative. Drop a small amount of the boiling fudge mixture into cold water. If it forms a soft ball that flattens when removed, it’s reached the soft-ball stage. However, for best results, consider investing in a thermometer.
- How Long Does Fudge Keep?
- Properly stored fudge can last up to 2 weeks at room temperature in an airtight container. For longer storage, you can refrigerate your fudge for up to 3 weeks or freeze it for up to 3 months. Ensure it’s wrapped tightly to prevent moisture loss and flavor absorption from other foods.
- Can I Add Alcohol to My Fudge?
- Yes, you can add alcohol to fudge to enhance its flavor. Alcohol should be added after the boiling stage, along with the flavorings. Keep in mind that alcohol can affect the setting properties of fudge, so use it sparingly. Also, ensure the recipe is appropriate for all audiences consuming the fudge.
Part 8: Conclusion
Wrapping Up
As our guide to making the perfect fudge concludes, we reflect on the journey we’ve taken together. From the fundamentals to advanced techniques, we’ve explored the artistry behind creating this beloved confection. Fudge making is not just about following recipes; it’s about the joy of experimentation, the thrill of discovery, and the satisfaction of sharing your creations. Let this guide be your starting point, not your boundary. Embrace the freedom to experiment with flavors, textures, and ingredients. Remember, every batch tells a story, and each piece of fudge is a testament to your creativity and passion. Keep stirring, keep dreaming, and let the sweet adventure continue. Happy fudge making!